
Washing your hair feels like the most basic part of any routine, which is exactly why most people never stop to question whether they’re doing it right. Then they wonder why their strands look dull, why their scalp itches days after a wash, or why their split ends keep coming back no matter what shampoo they try.
Learning how to wash your hair properly is one of those underrated upgrades that fixes problems people usually blame on products. The truth is simple: water temperature, where you place your shampoo, how you lather, how you rinse, and where you apply conditioner all change how your hair looks and feels.
This guide walks through the full process step by step, based on what dermatologists and stylists actually recommend, plus the most common mistakes worth fixing today.
How Often Should You Wash Your Hair?
There’s no universal answer here. The right wash frequency depends on your hair type, scalp behavior, age, and styling habits.
According to Healthline’s dermatologist-reviewed guide, here’s a useful baseline:
| Hair Type | Suggested Wash Frequency |
|---|---|
| Oily or straight hair | Daily or every other day |
| Normal to dry hair | Every 2 to 3 days |
| Wavy hair | Every 2 to 3 days |
| Curly hair | 1 to 2 times per week |
| Coily or textured hair | Once a week or less |
| Color-treated or chemically processed | 1 to 2 times per week |
A few rules that apply across hair types:
- Heavy workouts that leave your scalp drenched in sweat require a wash regardless of your normal schedule. Salt and sweat sitting on the scalp for hours can trigger irritation and dandruff.
- Older hair tends to need less washing. Sebaceous glands produce less sebum as you age, so over-washing becomes easier to do unintentionally.
- Long hair often needs less frequent washing because sebum takes longer to travel from the scalp to the ends.
- Over-washing strips the cuticle of natural oils. If your hair feels dry, brittle, or frizzy after every wash, you’re probably washing too often or using the wrong shampoo.
There’s a popular myth that “training” your hair by washing less will reset your sebaceous glands and reduce oil production. Most dermatologists agree this isn’t supported by science. Your scalp produces oil based on hormones and genetics, not on how often you shampoo.
What Water Temperature Is Best For Washing Hair?
This is one of the easiest fixes that immediately changes how your hair looks, and most people get it wrong every single shower.
The consensus from dermatologists and stylists, including Dr. Jody Alpert Levine and Dr. Kellie Reed in a Yahoo Lifestyle interview: use lukewarm water for washing and finish with a cool rinse.
Here’s the science behind it:
- Lukewarm water opens the cuticle just enough to let shampoo lift dirt, oil, and product buildup without stripping the strand.
- Hot water opens the cuticle too aggressively, which dries out the scalp, strips natural oils, and can damage hair follicles over time. It also stimulates oil production, which means your hair gets greasier faster between washes.
- A cool final rinse seals the cuticle flat, which traps in moisture from your conditioner, increases shine, and reduces frizz.
The temperature progression that works best
This professional-style sequence takes no extra time and produces noticeably better results:
- Initial rinse: Warm water (around 100°F or 38°C). Warm enough to feel comfortable, never hot enough to redden your skin.
- Shampooing: Slightly cooler, around 95°F (35°C). Comfortable but not steamy.
- Rinsing out shampoo: Slightly cooler still.
- Conditioning: Cool water (or turn the water off entirely while conditioner sits).
- Final rinse: As cool as you can comfortably stand. This is the step that seals the cuticle and locks in shine.
If you’ve been showering with hot water and noticing dry, dull hair, switch to lukewarm for two weeks and you’ll see the difference. It’s one of the highest-ROI changes you can make.
How To Wash Your Hair Step By Step
Here’s the full process the way most stylists and dermatologists recommend it. Each step matters more than people realize.
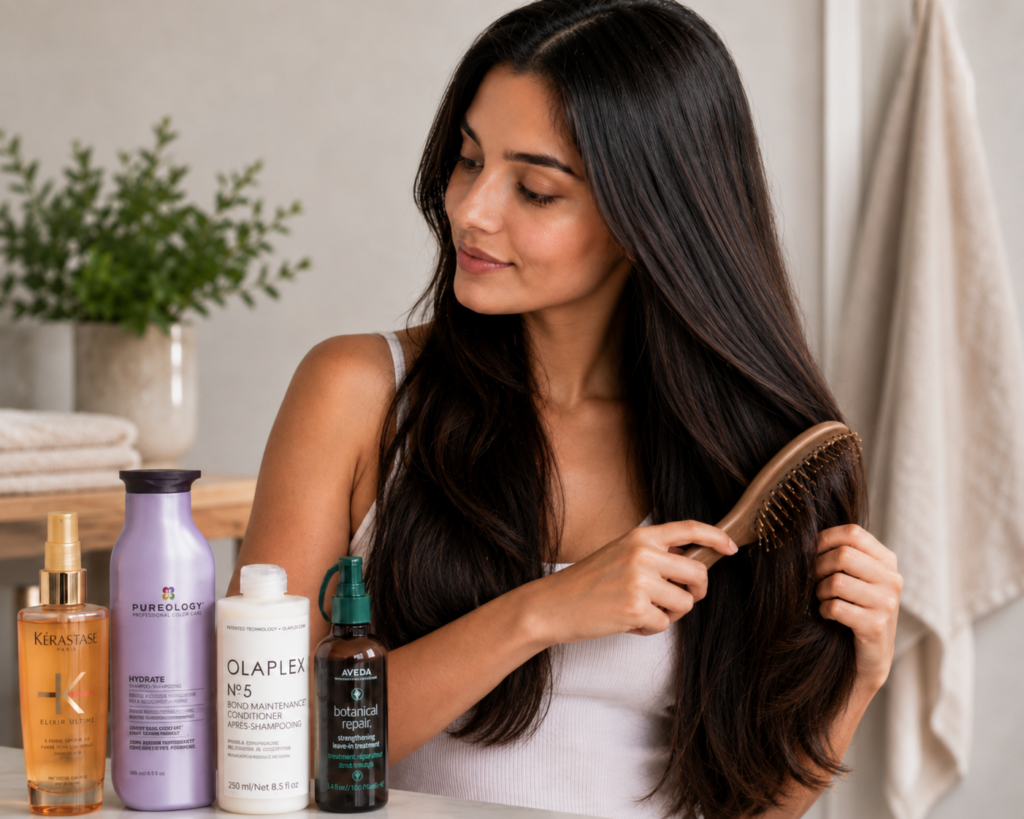
Step 1: Brush before you wash
Detangle your hair with a wide-tooth comb or a soft brush before stepping into the shower. Wet hair is up to 30% weaker than dry hair, which means detangling under water causes far more breakage. Brushing first also distributes scalp oils down the hair shaft and prevents tangles from tightening into knots once water hits them.
If your hair tangles easily, consider a pre-wash detangling spray or a small amount of conditioner massaged through the lengths before stepping in.

Step 2: Wet your hair completely
This sounds obvious, but most people don’t actually get their hair fully saturated before applying shampoo. Half-wet hair doesn’t allow shampoo to spread evenly, which means you’ll use more product than you need and parts of your scalp won’t get cleaned.
Stand under the water for a full 30 seconds and let it soak through to your scalp. You should feel water reaching all the way to the roots.
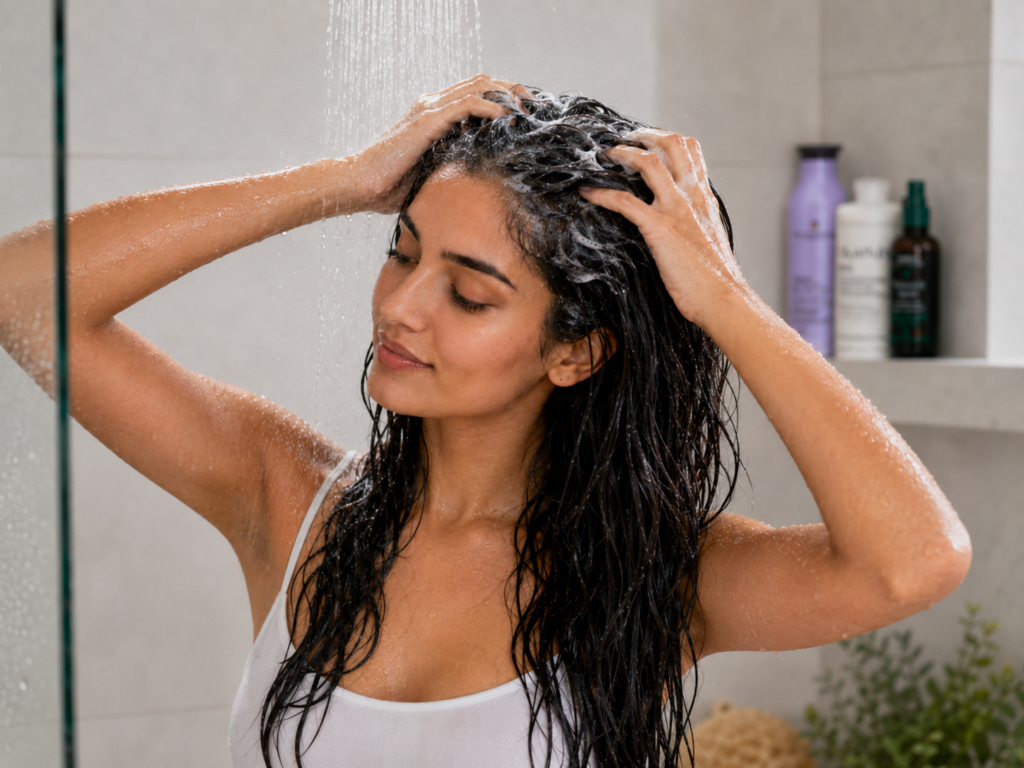
Step 3: Apply shampoo to your scalp only
This is the step most people get wrong. Shampoo is designed to clean your scalp, not your ends. Your sebaceous glands are at the root, and that’s where oil and dead skin cells accumulate. The lengths and ends are usually dry and don’t need direct shampoo application.
Use a quarter-sized amount for short to medium hair, slightly more for long or thick hair. Rub it between your palms first to break up the formula, then apply directly to the scalp at the crown, sides, and nape.

Step 4: Massage with your fingertips, not your nails
According to dermatologist Dr. Rajani Katta in The Healthy, gentle fingertip massage stimulates blood flow to the hair follicle and effectively cleans the scalp without irritating the skin. Scrubbing with your nails causes micro-tears in the scalp, which can lead to inflammation, scaling, and even folliculitis over time.
Spend 60 to 90 seconds massaging in small circles. This isn’t just about cleaning. The motion also improves circulation, which supports healthier hair growth long-term.

Step 5: Let the suds rinse down through the lengths
Don’t pile your hair on top of your head while rubbing in shampoo. This is one of the most common causes of tangles. Instead, let the lather rinse down the length of your hair naturally as you rinse. The suds will clean the mid-lengths and ends on their way down, which is more than enough for those sections.
Step 6: Rinse thoroughly
Rinse for at least 30 to 60 seconds, longer for thick or long hair. Run your fingers through your hair under the water to make sure no shampoo residue is left behind. Leftover shampoo on the scalp causes itching, flakes, and irritation, and it can build up over time.
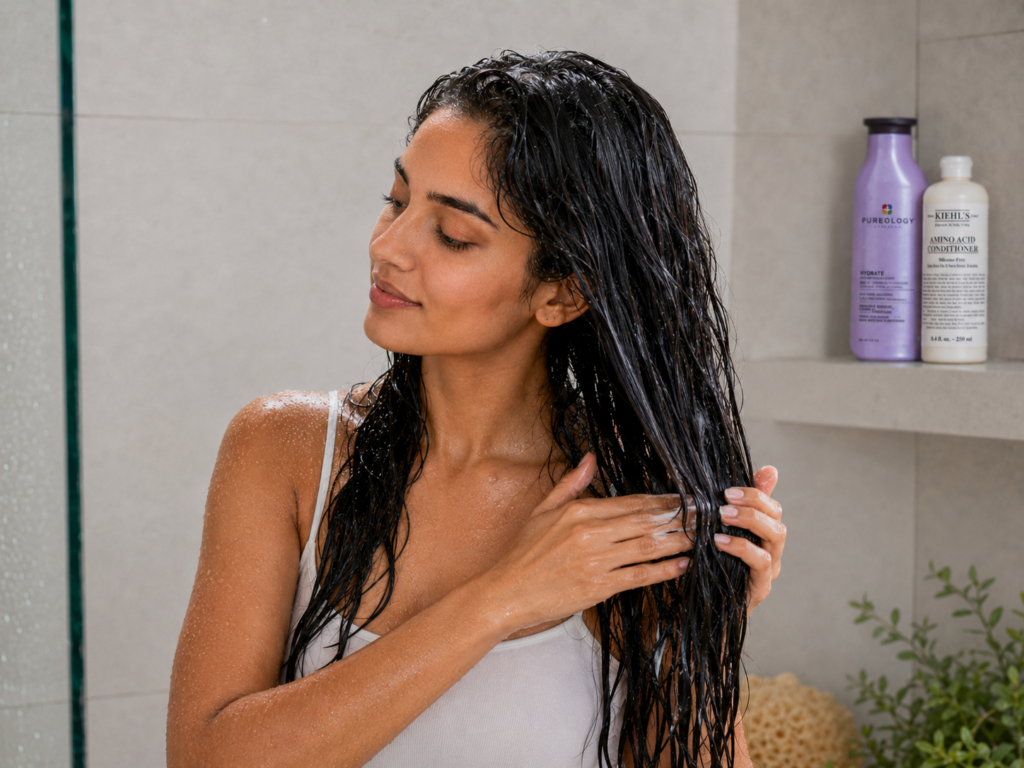
Step 7: Apply conditioner only to the mid-lengths and ends
Conditioner belongs on the parts of your hair that need moisture: the mid-lengths and ends. Applying conditioner to your scalp weighs hair down, makes roots greasy faster, and can clog follicles.
Squeeze excess water out of your hair before applying. Wet hair dilutes the conditioner and reduces how well it absorbs. Run the product through with your fingers or a wide-tooth comb to distribute evenly.
Step 8: Let conditioner sit for at least three to five minutes
Most people rinse conditioner out the second they apply it. The product needs time to penetrate the cuticle and deliver moisture. Use this time to wash your face, body, or just stand under the water doing nothing. Three to five minutes is the minimum; up to ten minutes works for a deeper conditioning effect.
Step 9: Rinse with cool water
Switch the water to as cool as you can stand and rinse the conditioner out completely. This is the cuticle-sealing step that gives your hair shine and reduces frizz throughout the day.

Step 10: Towel-dry gently
Don’t rub your hair with a regular bath towel. The rough cotton creates friction that lifts the cuticle and causes frizz. Use a microfiber towel or a soft cotton t-shirt to gently squeeze and blot the water out. Avoid wrapping your hair tightly into a turban for long periods, which puts tension on the hairline.
Common Hair Washing Mistakes That Damage Your Hair
These are the habits stylists and dermatologists see most often, all of which weaken hair and lead to long-term damage.

1. Using water that’s too hot
Hot water dries out the scalp, strips natural oils, and stimulates oil production. If you can see your skin turning pink, the water is too hot for your hair.
2. Applying shampoo to the ends
The ends are the oldest, driest part of your hair. They don’t produce oil and don’t need direct shampoo. The suds running down during rinsing are more than enough.
3. Scrubbing with your nails
Nails create micro-tears in the scalp, leading to inflammation and irritation. Always use the pads of your fingers.
4. Using too much shampoo
A quarter-sized amount is plenty for most hair lengths. Excess product is harder to rinse out and contributes to buildup at the scalp, which is one of the most common causes of dullness.
5. Skipping the conditioner
Even if your hair feels fine without it, conditioner replaces moisture that shampoo strips away. Without it, the cuticle stays slightly lifted and the hair shaft remains vulnerable to environmental damage.
6. Applying conditioner to the scalp
Conditioner is for the mid-lengths and ends. Putting it on the scalp weighs hair down and causes faster greasiness.
7. Rinsing too quickly
Shampoo and conditioner residue both cause problems. Shampoo left behind irritates the scalp. Conditioner left behind weighs hair down and looks dull. Rinse longer than feels necessary.
8. Detangling wet hair with a regular brush
Wet hair is fragile. Always use a wide-tooth comb or a wet-specific brush like a Tangle Teezer or Wet Brush. For more on breakage prevention overall, see our guide on ways to stop hair breakage, which covers what to do when you’ve already started seeing snapped strands.
9. Towel-drying with a rough bath towel
Cotton bath towels cause friction and lift the cuticle. Switch to a microfiber towel or a soft t-shirt to dramatically reduce frizz.
10. Washing too often (or not often enough)
Both extremes cause problems. Daily washing on naturally dry hair causes brittleness and split ends. Infrequent washing on oily hair leads to buildup, scalp irritation, and folliculitis. Find the right frequency for your hair type and stick to it.
How To Pick The Right Shampoo And Conditioner
The wrong shampoo can undo every other good habit. Here’s how to choose products that actually work for your hair.
For oily hair
Look for clarifying shampoos or formulas with gentle surfactants. Avoid heavy moisturizing shampoos, which weigh hair down at the roots. Conditioner should be lightweight and applied only to the ends.
For dry or damaged hair
Look for sulfate-free shampoos with hydrating ingredients like glycerin, shea butter, argan oil, or hyaluronic acid. Conditioner should be richer, with keratin, ceramides, or silk proteins.
For curly or coily hair
Curly hair is naturally dry and benefits from sulfate-free, moisture-rich shampoos. Many curly hair routines use co-washing (conditioner-only washing) on non-shampoo days to retain moisture.
For color-treated hair
Use color-protecting shampoos with low pH and no sulfates. Sodium lauryl sulfate strips both dirt and color, which means your shade fades faster. If you’re blonde and dealing with brassy yellow tones, a violet shampoo (used once a week, not daily) can help keep your color cool. Our full breakdown of how to use purple shampoo covers timing, frequency, and how to avoid over-toning.
For thinning hair or hair loss concerns
Look for shampoos with biotin, caffeine, saw palmetto, or ketoconazole (for dandruff-related shedding). For sustained healthy growth, pair the right shampoo with the lifestyle and nutrition habits covered in our tips to make your hair grow faster.
For sensitive scalps
Avoid heavy fragrances, sulfates, parabens, and harsh preservatives. Look for fragrance-free or dermatologist-recommended formulas. If irritation persists despite product changes, see a dermatologist to rule out seborrheic dermatitis, eczema, or scalp psoriasis.
Try a DIY approach
If you want to skip mainstream formulas and control exactly what touches your scalp, our walkthrough on how to make shampoo covers gentle, customizable recipes you can mix at home with simple ingredients.
The Right Places To Apply Shampoo And Conditioner
This is worth emphasizing because almost no one does it right. The placement map is simple:
Shampoo: Scalp only. Crown, sides, nape. Let the suds rinse down through the lengths naturally.
Conditioner: Mid-lengths and ends. From the middle of your hair down to the tips. Avoid the scalp entirely unless you have unusually dry skin at the root.
Hair oils, leave-in treatments, and serums: Mid-lengths and ends, applied to damp hair after towel-drying.
Scalp treatments and serums (separate from conditioner): Directly on the scalp only, never on the ends.
Mixing up these zones is one of the biggest reasons people end up with greasy roots and dry, frizzy ends despite using “good” products.
How Hard Water Affects Your Hair Wash
If you’ve moved homes recently and your hair suddenly looks different, hard water might be the cause. Hard water contains high concentrations of dissolved minerals like calcium and magnesium, which leave a film on your hair after every wash.
According to Headspa Toronto’s guide on hair washing temperatures, hard water builds up over weeks and months and can cause:
- Dull, lifeless-looking hair even on wash day
- Mineral residue that makes hair feel rough or “filmy”
- Color-treated hair fading faster or turning brassy
- Shampoo not lathering properly
- Scalp dryness and increased dandruff
How to fix hard water hair problems
- Install a shower filter. A basic in-shower filter removes most calcium and magnesium and is the most reliable long-term fix.
- Use a clarifying shampoo weekly. Apple cider vinegar rinses also work as a budget alternative.
- Try a chelating shampoo designed specifically to remove mineral buildup. These are different from clarifying shampoos and target hard water deposits in particular.
- Do a final cool rinse with distilled water for the last rinse if buildup is severe.
A healthy scalp is the foundation for healthy hair, and hard water disrupts that foundation. For more on supporting your scalp through your routine, see our scalp care tips for healthier hair growth.
How To Wash Different Hair Types
Each hair type has its own ideal routine. Here are quick adjustments by texture.
Fine or thin hair
- Wash more often (every 1 to 2 days)
- Use volumizing or lightweight shampoo
- Skip heavy conditioner near the roots
- Apply leave-in serum only to the very ends
Thick or coarse hair
- Wash less often (every 3 to 5 days)
- Use moisturizing shampoo
- Apply conditioner from the mid-lengths down generously
- Consider a leave-in conditioner for added moisture
Wavy hair
- Wash every 2 to 3 days
- Use sulfate-free shampoo to preserve wave pattern
- Scrunch in conditioner to define waves
- Air-dry or diffuse on low heat
Curly hair
- Wash 1 to 2 times per week
- Use sulfate-free, moisture-rich shampoo
- Co-wash on non-shampoo days
- Apply conditioner generously and detangle in the shower
Coily or textured hair
- Wash once a week or less
- Use deeply moisturizing or co-wash formulas
- Section hair for thorough cleansing and conditioning
- Always follow with a leave-in treatment
Color-treated or chemically processed
- Wash 1 to 2 times per week to preserve color
- Use color-safe, sulfate-free shampoo
- Deep condition once a week
- Finish with a cool rinse to lock in pigment
Should You Use A Clarifying Shampoo?
A clarifying shampoo is a deeper-cleaning formula designed to remove product buildup, mineral deposits from hard water, and residue from dry shampoo, styling products, and silicones. Most people benefit from using one once every one to two weeks.
Signs your hair needs a clarifying wash
- Regular shampoo isn’t lathering the way it used to
- Hair feels coated, heavy, or limp
- Styling products aren’t holding the way they normally do
- You’ve been using a lot of dry shampoo between washes
- Your scalp itches a few days after washing
- You’ve recently been swimming in chlorinated pools
If you stretch washes by using dry shampoo, our guide on how to use dry shampoo explains how to do that without causing buildup, and reinforces the need for a deeper clarifying wash on a regular schedule. If you’ve been worried about whether the habit might be thinning your hair, our deep dive on does dry shampoo cause hair loss breaks down what dermatologists actually say.
How to use a clarifying shampoo properly
- Use no more than once a week (twice a week max for very oily hair)
- Apply only to the scalp
- Leave it on for two to three minutes before rinsing
- Always follow with a deep conditioning treatment, because clarifying shampoos can be drying
If you use one every wash, your hair will feel stripped and dry. Save it for the times when regular shampoo isn’t doing the job.
How To Dry Your Hair Without Damage After Washing
The drying step matters as much as the washing process. Done wrong, it undoes everything you just did.
The right post-wash drying sequence
- Squeeze, don’t rub. Use your hands to gently squeeze excess water out of your hair while still in the shower.
- Use a microfiber towel or t-shirt. Cotton bath towels are too rough and cause friction damage. Gently blot or wrap your hair, no rubbing motion.
- Apply leave-in conditioner or serum. Add a small amount to the mid-lengths and ends while hair is still damp. This seals the cuticle and prevents moisture loss as your hair dries.
- Detangle with a wide-tooth comb. Start at the ends and work up to the roots.
- Air-dry as much as possible. If you must blow-dry, use the lowest heat setting and always apply a heat protectant first.
- Avoid rough manipulation. Don’t twist, scrunch, or rub while drying.
A good drying routine adds maybe two extra minutes to your morning but makes a noticeable difference in how your hair looks after a week.